My everyday Spring makeup look🌸

   
 ITS FINALLY SPRING🌸 I love this time of the year because it’s still a little chilly but the skies are blue and the suns out (most of the time). In the summer I tend to wear a lot less makeup, so I usually stop applying concealer/powders, and switch to a BB cream. But since it’s not quite hot enough, this is my go to makeup look for this time of the year! Enjoy😘

First of, I will always make sure my skin is FULLY cleansed. When I’m in the shower I will use the body shop foaming cleanser in the Tea Tree collection to help remove any blackheads or blemishes from my skin and freshen it up! I love this product because my skin can become fairly oily, therefore this product helps reduce the levels of oils on my face, without drying my skin completely. Plus, this product really helps to waken my skin in the morning, without leaving it feeling tight.☺️ Helpful tip: when washing your face, try finishing off the process by quickly washing your face with cold water. This helps to close your pores again to reduce any bacteria contaminating your skin😝

After drying my face, I’ll then take a tea tree face wipe from the same body shop collection and wipe this gently across my T-zone. This helps to ensure all the dirt is removed from my face. To some people this step may be unnecessary, but I sometimes suffer from spots and blemishes, and I’ve found that doing this step has cleared my skin massively!💓 

I will then apply my Mac prep and prime lotion all over my skin to get my face ready for the makeup. I love this product as it adds a slight shimmer over the skin which can look so pretty in the sunlight!✨ I’ve also found that having a primer really helps the overall appearance of my makeup. If I want more of a subtle look, I will use my Pore Professional primer from Benefit, which again provides fab coverage☺️

Next, using my real techniques buffing brush, I will apply my Mac Studio Fix foundation in shade NW15 all over my face. I love this foundation as it gives me a great coverage but also a gorgeous glow. I feel this product feels a lot lighter on the skin than my other foundations, therefore i use this in the day time. This is a shade darker than my natural skin tone, but because I apply fake tan a lot, it is matched to that🙈

I’ll then take my real techniques small contour brush and apply some concealer under my eyes. The concealer I use is the Collection 2000 concealer in shade 1 fair.   I love this concealer as it is the only product that has managed to cover the huge bags under my eyes! Little bit of advice, I’ve found bringing the colour down my face in triangular shapes helps to give a lovely glow to my face!✨ I will then take the same brand concealer in shade 2 medium to add a slight contoured shadow to my check bone and side of my nose. I’ll use my Mac 133 brush to do this. I love this brush as it is so soft and fluffy!☺️

Next I will apply bronzer to my cheekbones. For bronzer, I use my Mac mineralize skin finish powder in shade ‘Dark Golden’. I love this as its not too dark for my complexion and applies lightly to the skin. The brush I use to apply is my Smashbox bronzer brush.🌸

One of my favourite products would have to be my Nars blusher called ‘Orgasm’. This product is so fantastic and gives a gorgeous pink/gold tone to the cheeks. This is my go to blusher for this time of the year as it sparkles in the sunlight✨ As you can see by the photo below, I’ve had this product for a VERY long time as it most defiantly looks used😂 but there is still so much product left! So worth the money!

  
To apply I will use my Zoeva blusher brush! I love this brush because it is slightly angled to give perfect application. 

I’ll then begin to fill in my eyebrows. For my brows, I use the Kiko eyebrow kit in shade 01. I love this product as the shade suites my skin so well and provides full coverage all day! The product comes with a wax/gel, and two powders. I use the darker powder to outline my eyebrows and the lighter to blend them out‼️

Now time for my favourite part, EYESHADOW💞 So to make this look Spring themed, I like to use my Naked 3 palette. I got this as a gift for my 16th birthday and I think I’ve used this almost everyday? THERE IS STILL SO MUCH LEFT! Yes, this product was expensive for eyeshadow but the amount of wear I’ve got out of it is incredible! What I love about Urban Decay eyeshadows would have to be how a little goes a loooong way! To start off the look, I’ll apply ‘Nooner’ which is a brown/purple colour to my outer corners of each lid. Using a blending brush I will work ‘Limit’ into the inner corners to blend this colour into an ombré style. I will add ‘Burnout’ lightly on top of the darker outter corners to give the look some texture and glitter. I’ll do the same for the lighter area but instead using ‘Dust’. To finish the look I’ll touch up my inner eye lid with ‘Strange’, which is a white/cream shade. This look will take me around 3 minutes so it’s great for a quick style! 🌸🌸🌸 plus it’s very pink ☺️☺️☺️

I’ve used a lot of mascaras on the market, but my favourite would have to be the ‘L’Oreal Paris mega volume’ with the bright pink packaging. This mascara is very cheap, and lasts all day! It makes my eyelashes appear double the length they really are! Such a good quality product. 

I always like to add a little bit of highlighter to give a gorgeous glisten to the Spring look! The highlighter I use is the Urban Decay ‘Naked Illuminated’ powder in shade ‘luminous’. I cannot rate this product ENOUGH‼️ It’s now very hard to purchase since celeb Kylie Jenner was seen using it, but if you get the chance I promise you won’t regret. I mean it’s basically glitter and how can you not love glitter?!✨

AND FINALLY, to finish off this simple and easy Spring look, I like to apply a coat of lipgloss. I’ll use my Chanel lipgloss in shade 166. Thanks to my gorgeous makeup lover best bud Emi, (who is a very bad influence when it comes to spending money on makeup) this is BY FAR my favourite lip product ever! It’s the most gorgeous glittery pink shade that looks so beautiful on. It completes the whole look! 

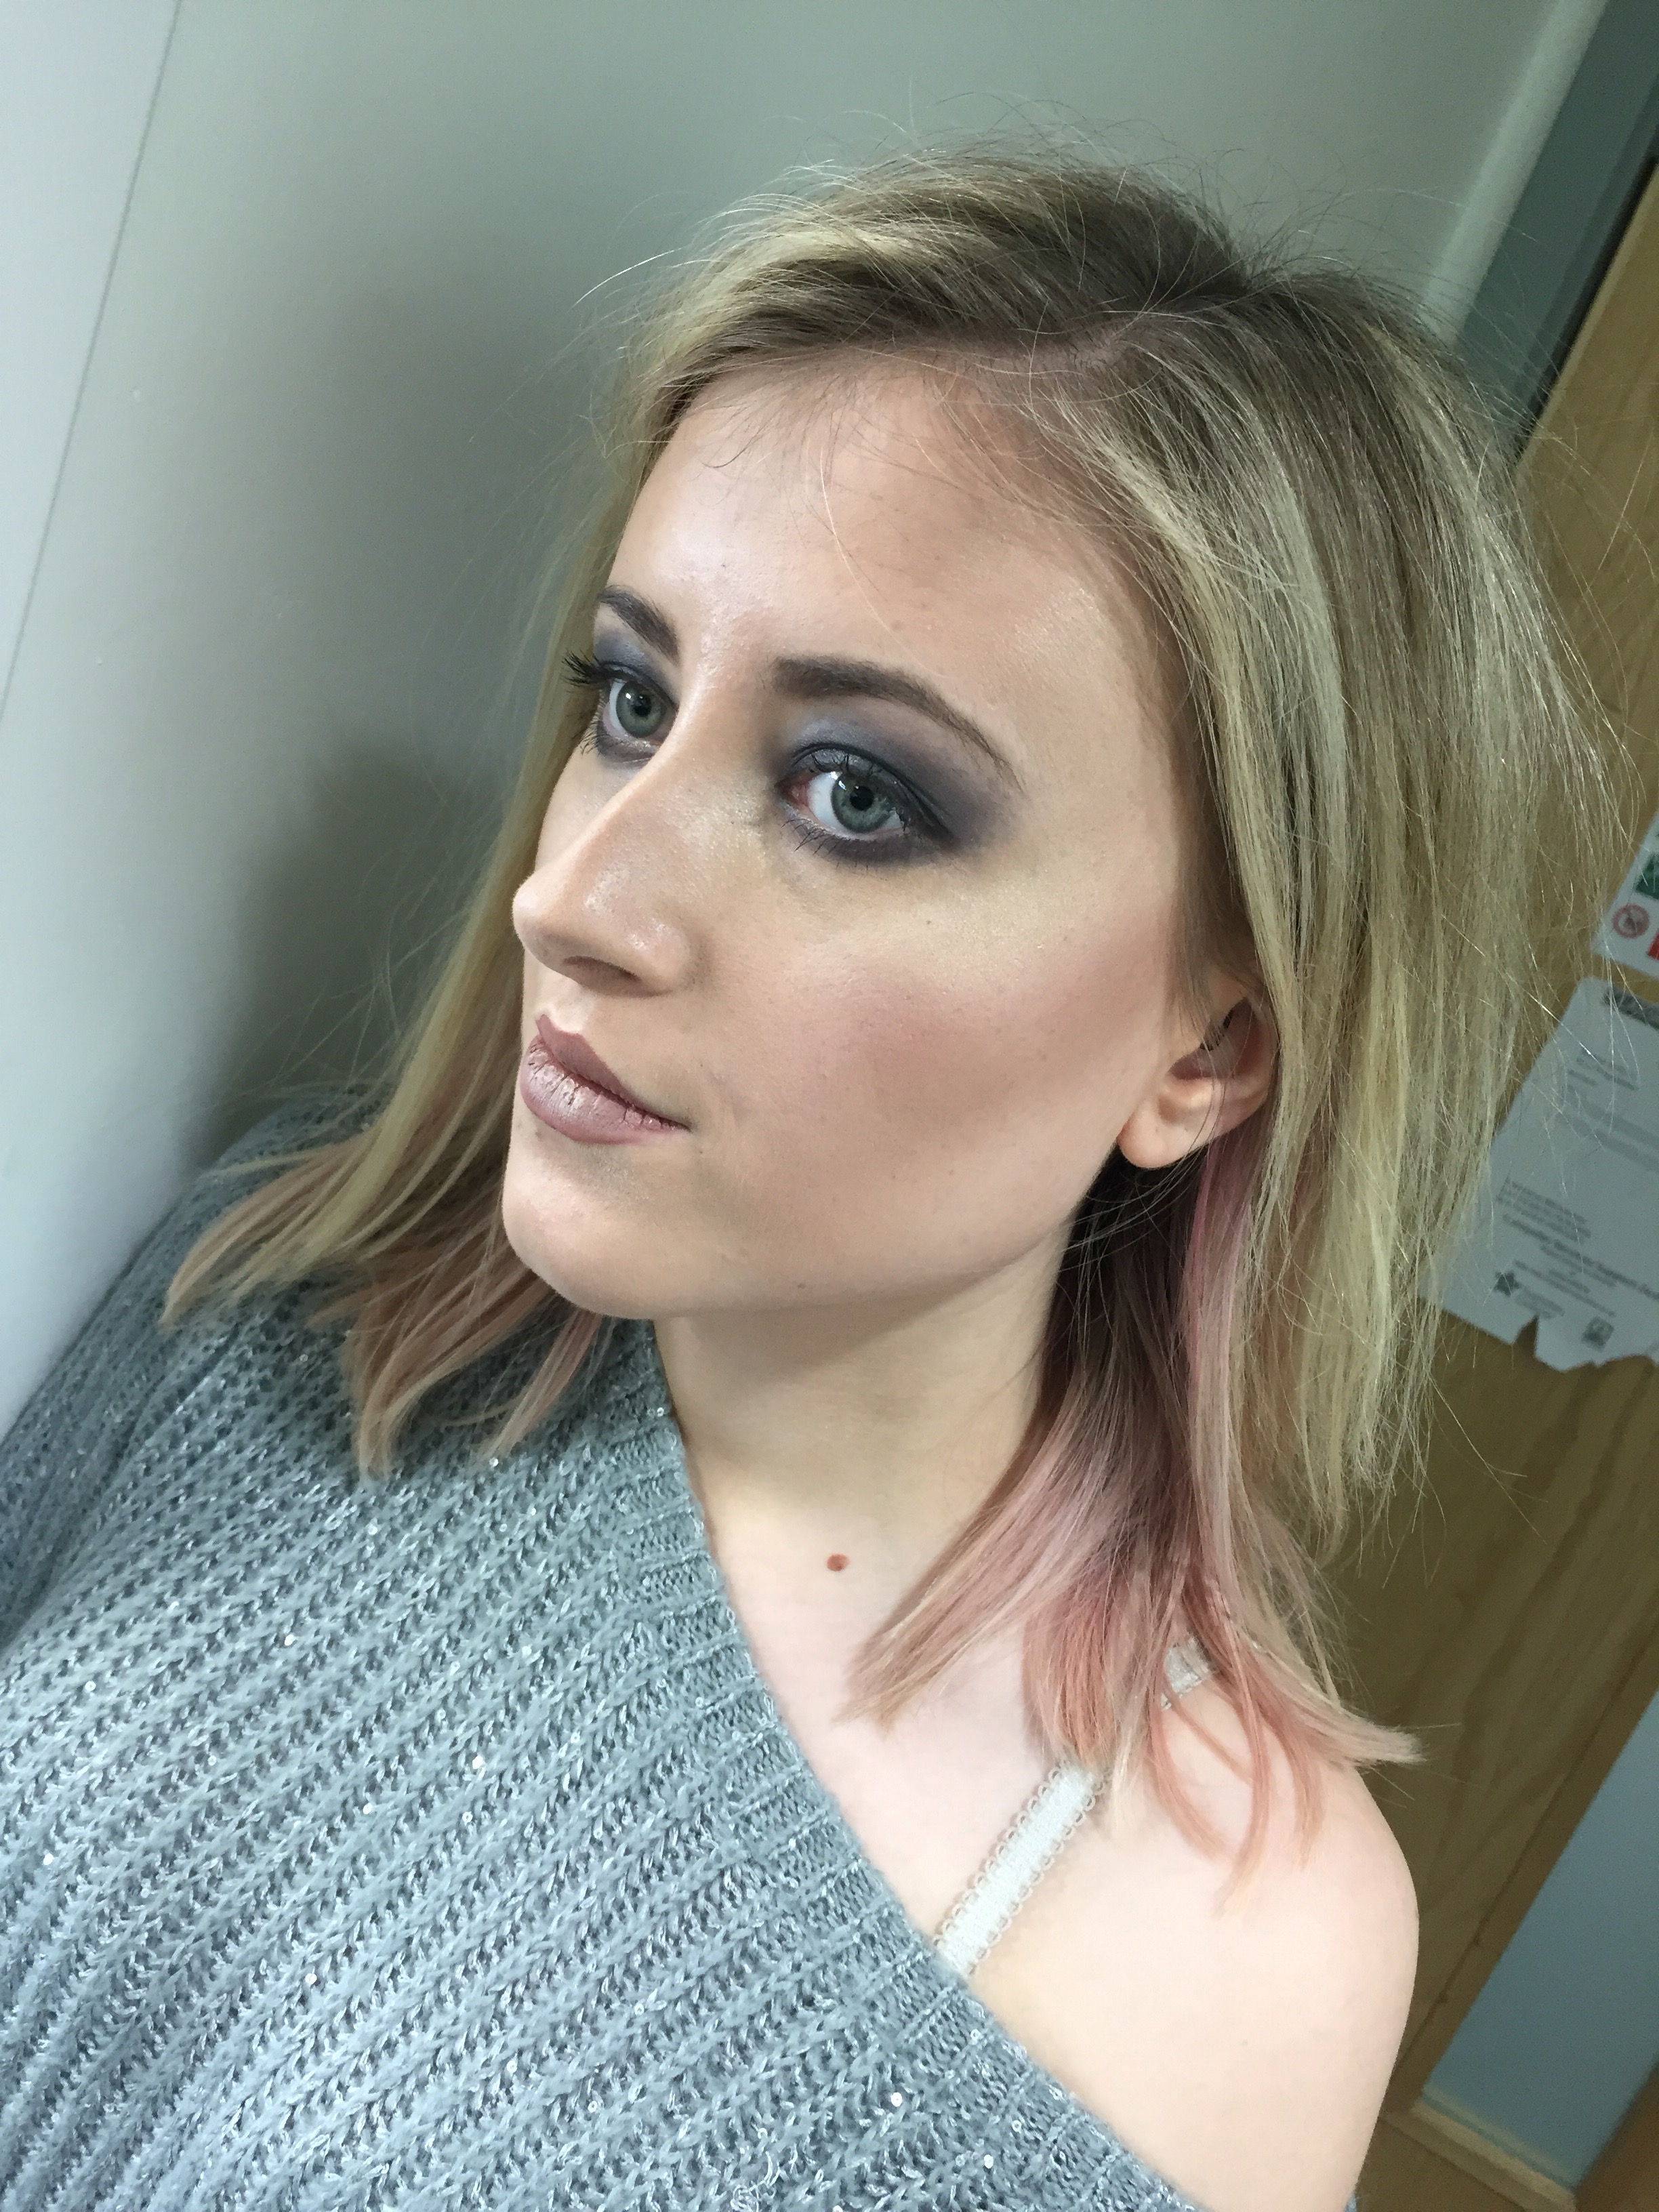
Hope you enjoyed this little insider to one of my favourite makeup looks☺️💓🌸💜

Sophie xxx


My top 5 tanning product experiences🍊

Having always been fair skinned, I’m not the best at getting a natural tan when it’s sunny outside. I inherited this gene from my mother who like me, is as pale as it gets. (love you mum) 😏

This isn’t always a bad thing, as because of it, I received my lovely and very light blonde hair, which I love💓! 

But, I do equally love being tanned, therefore after hours of sitting on sun loungers and just gaining a bright lobster effect all over my body, I turned to tanning products‼️ 

At first I was very excited; surely it will be so easy? I just simply buy any old self tanning product, wack it on and I’m good to go. 🤗 Oh my how I was wrong. The method just mentioned may be the easy route other people take, but being as pale as I am, this was not the case. 😖😖 

I have tried almost EVERY product on the market and received a wide range of results. So therefore, I’d like to share all my tanning tips and flaws with you below: ENJOY😜

1) Dove Summer Glow 

Okay, so when I was around the age of 15/16, I started getting into the idea of becoming a bit more bronzed when all my friends were doing it. This was mainly due to wearing shorts in PE and wanting to not look as white as a ghost.👻 

I wasn’t sure which product to use as I wanted a really natural look. At this age I wasn’t really into makeup or beauty so the world of cosmetics was a blur to me! My mother suggested this product to me, and all my friends had been pretty successful with it! 

I applied it like a body lotion, using my hands. This was a bit of a mistake as my hands would always appear darker then the rest of my body as I would sometimes forget to wash them after, oops🤐

The main issue I found with this product, is it didn’t have a colour guideline. By this, I mean the product came out white, and applied clear on the skin. This made it very had to see where I had actually applied the lotion😤! When I did applied even all over, the product didn’t actually look too bad! Now I’m 18 and going out more, I want a darker tanning look, so this product wouldn’t be ideal for me now; but as a 15 year old, it worked a charm.💎 It made my skin SO SOFT, which definitely is a bonus! Overall I would rate this product a 6/10, for the final look. If your going for something very natural and easy to keep up together with, this would be the right choice. You didn’t have to follow a strict routine to achieve a 24/7 glow☺️

2) Garnier Summer Body Lotion


After finishing my Dove bottle, I wanted to try something new but similar. My friend at the time recommended this product to me. Her tan looked so natural and gorgeous. She wasn’t the palest person, therefore I think this is why the overall end result looked different on her.😭 I bought it the same day and couldn’t wait to try it out! Like the Dove lotion, it applied on white, making it very hard to get a non-streaky finish. (Please bare in mind i bought this product a long time ago so it might be different to now!) 

I noticed that this product did give a better coverage, but the colour did not suite my skin type. It was a lot more orange than the Dove product. This may work fine for other individuals but did not look good what so ever on myself! 😤

The product itself had the most beauuuuuutiful scent🍇🍉🍒🍑🌸🌺 I feel this is vital for a tanning lotion! There is nothing worse than smelling the typical biscuit smell of self tanner on your body 24/7, yuck😝

Overall I would rate this product a 4/10😯😯

3) Sienna X Spray tans


It was around the year of 2014, when my family and I went on holiday to Dubai. I wanted a lovely tan to travel over with, as I knew we weren’t staying long enough for me to sun bathe!🤔 

My mum suggested to me the idea of getting a spray tan. This would be a lot easier, as I can leave it to the professionals as they know actually what colour is right for me. Oh how I was wrong! I can’t remember exactly what product I had applied to me for the spray tan, but I was so orange and flaked away so easily! This scared me for life, and I did not touch any products for ages!😰😱

 Just look at my poor mother and me below🙄🍊🍊🍊🍊🍊🍊🍊🍊🍊🍊🍊🍊🍊🍊🍊 
Anyways back to the point, it was coming up to prom, when my friend recommended to me getting a spray tan. At first all signs screamed NO! Just because I really could not relive my last experience.👎🏽 After seeing my other friends have a go on with the spray tan, I gave in and decided to just give it a go. Honestly I could not have been happier with my tan!☺️ It looked so natural and complimented my dress and hair so well! I loved prom and I feel my tan really helped add to the enjoyment! 

  
I’ve only ever used this product once, just because it was more on the expensive side. If there is a special occasion approaching then I would deffo recommended having a spray tan done, but using a high quality brand. Trust me, if it goes wrong, then spray tans can be a nightmare to remove!!👎🏽👎🏽

Overall I rate this product a 9/10☺️🌸

4) St Tropez Gradual Tan


I decided to try something on the pricier side. This tan gave me such a flawless coverage and lasted such a good quality of time (which is everything you want in a tan😍)

The main downside I found with this product, is that it cost quite a lot, and didn’t last very long. This may seem fine if you want to tan for a one off occasion, but if your like me and want a constant glow, then this hobby soon becomes expensive!😤 

I really reccomnd buying the tanning mitt with the product, as this mitt is absolutely fantastic at applying the product evenly, whilst not soaking too much up. Boooonus😎

I have a tiny feeling that when I used this product, at the time it didn’t have a colour guide and applied clear, but I feel this feature may have been altered recently! Don’t count me on that one!👀 I didn’t have any problems regarding streaks as the mitt helped massively!

Overall, although I don’t still use this product today, I would recommended it to anyone. It’s such a good quality tan, that’s can last a fair amount of time on the skin! Rating: 8/10 👅

5) St Moriz Tanning Foam and Mist


Words can not describe how much I LOVE this tan‼️ This is by far my favourite of all 5 by a mile! Everything about the tan I cannot fault. The colour is fantastic and whenever I self tan using this product, someone will always compliment me😍

There is only one tiny issue I’ve had with this product. Before application, you will have to make sure your skin is FULLY exfoliated! I cannot express this enough. If your skin type is dry then this product is not for you! The lotion itself is very dark first and sets lighter. If your skin is dry, the lotion will not apply at all or apply way too dark in that area. 👎🏽 My skin can become very dry from time to time so I always make sure to go a week where I’ve stripped the tan off my skin and fully cleansed my body. This gives my body a chance to soften. 

I have also found that the St Moriz tanning mist works a treat on a night out. The product is instant, therefore just apply a quick layer over the skin and let it sink in. This tan will wash off under water so do be careful! 

The following photos are the end results from the tan💓 


SO THERE YOU HAVE IT! Hope this helps any of you looking to top up the tan before bikini season! If not then thanks for reading anyway😉 I’ve got so many exciting blogs lined up that I’m constantly typing away whenever I get the chance! The last two weeks have been manic with my assignment due next week and celebrating my close friends birthdays. I’ll be sure to write up a blog weekly and get back into the swing of it all again! So many exciting things coming up which I cannot wait to share with you all 😘

Sophie xxx

KYLIE VS JEFFREE⁉️

NOWS ITS TIME FOR THE BIG DEBATE😲😲 hahah just kidding, but seriously which is better?! 2015 was the year teen Kylie Jenner made a huge success by bringing out her lipstick range, completely shocking the world. The lipsticks themselves are almost IMPOSSIBLE to get a hold of, but luckily with a lot of Twitter stalking and constantly checking my phone for updates, I managed to get my hands on two🙌🏽🙌🏽

So what makes Kylie’s lipstick so popular you ask? Well, the lipsticks claim to be 24 hour wear proof. Hrm… Can’t really say I agree? I was fortunate to get my hands on True Brown K and Mary Jo K. I am a huge lover for brown lips. Brown lips have definately made it big in the last year, with celebrities like Rihanna, Kylie and Gigi Hadid absolutely rocking the look👄

My other lipstick from the collection, Mary Jo K, was on of the recent releases. This colour was defiantly more of a surprise, with all the colours so far being pinks, nudes and browns.✨✨

RIGHT, so before I start the debate giving my own personal views on each of the products, its only fair I introduce the legend himself, Jeffree Star. Okay, so if you live in the UK, like myself, you may not have heard too much about Jeffree Star. I found out about Jeffree from my good pal Millies (follow her blog, i’ll link it at the bottom!! She’s a right crazy one).🤘🏽🍷🤘🏽

Jeffree wanted to created a lipstick brand, that guaranteed a strong colour, coverage and wearability. What makes his brand so unique would have to be the huge range of colours to choose from – like seriously any colour you can think of, he’s got it, and even better they all have amazing names!🌈🌈🌈

  
SO WHICH IS BETTER?

I celebrated my 18th birthday last month, 🍾🍾 to which I was very luckily given one of Jeffree’s lipsticks. The colour I received was ‘celebrity skin’. In the past, I had already trialled out ‘posh spice’, which is a very rich grey/brown colour, which I ADORED. 💓 After a lot of obvious hints, I managed to get my hands on one of the lipsticks. My initial reaction to this product was the smell. Honestly if ‘smellavision’ was a thing, you would all be thanking me. The smell is absolutely gorgeous. It smells so fruity and fresh, which is such a perfect taste when applying to the mouth area.😍😍

Next, the application. So the secret and fun of both of the products is that they apply as a liquid and dry matte. This is honestly so great for building up coverage and accurate application – any mistakes can be very easily removed. My first worry for this product would be that it would dry my lips out completely, but oh my goodness how i was wrong. The lipstick looks and feels so soft. The one downside would be that you do have to top the product every couple of hours, which come on… not much to ask eh?

 Kylie’s lipstick was something I always wanted from the minute they were first released. Living in the UK meant that purchasing was a lot harder as i had to work around the time difference. 😲😟 

I wasn’t lucky to get my hands on them the first time round, but I think it was either the second or third resale i nabbed True Brown and Mary Jo. If I’m completely honest, I did really want one of the nude colours, but they sold out within 5 minutes!! CRAZY BUSINESS. So I settled with these two, not complaining at all as i was finally making progress!👍🏽👌🏽

Actually receiving the products was a total nightmare. They had to be shipped from America, which not only delayed the delivery time, but also meant I had to pay can extra £15 pounds to be able to receive my gifts from the security office. What I mean by this, is that because these products were not recognised on the system when delivered, the security staff had to open my package to check everything was safe (which is fair I suppose)!!

After FINALLY getting my lippies, i ran into my car literally puling apart the packaging to reveal a damaged and shredded up box that the lip kits were meant to be prettily packaged in🙀🙀. This frustrated me so much, as it clearly showed how little the staff were being gentle with the package. By this point, I just bite my tongue and moved on; I was just so glad to finally have them.👀

When I got home that day, I trialled out the product. The little tubes are so so gorgeous. Kylie has really done a good job at designing the whole look! It came with a cute little postcard with a message from Kylie, which i thought was such a kind touch!☺️ The lip liners that came with both of the lipsticks are really good. They were so easy to use, and helped so much to create the full look. I would definately recommend always using a lip liner when applying such bold lipsticks. When I applied the lipsticks on my lips, I loved the initial feeling as you apply it wet and it sets dry. Once i was satisfied with the final look, I left it to dry. The first thing I noticed was how drying the product was! 😲 At first I thought I might be able to adjust to it, but after numerous times wearing the lipsticks again it got unbearable.😭😭

In the end, it resulting in me selling True Brown K.😪  Honestly I could not fault the pigmentation at all. The colours appeared so beautiful on the lips. I just found for me, I ended up licking my lips SO much it was ridiculous. The product itself didn’t even last that long on my lips; I’m narrowing this down to how much I would rub and lick my lips in frustration. I wanted to like the product but I really couldn’t. I still have Mary Jo K, as the colour was so pretty, and I found I didn’t have to apply as much as True Brown to receive a full and even coverage (this being to my lips being naturally quite red).

In my personal opinion Jeffree Star WINS HANDS DOWN!🏆🏆 The product was almost half the price of Kylie’s and I get so much wear out of it! Whenever I wear my Jeffree Star lipstick, I will always get complimented and people will always ask more about it! On the Jeffree Star website you can get so many colours which look like identical of Kylie’s products.

In my opinion, save your money and don’t follow the crowd, as you’ll be surprised how much better some of the more unknown brands can be!😽

Hope you enjoyed my own personal experience with products. I have defiantly had my fair share of trial and error when it comes to different products; leaving me with endless tales, so you will definitely be hearing more in the future.🤗😝😎

Sophie xxx 

Ps… MILLIE BLOG: miljules.wordpress.com 

 Photos below are linked to the colours mentioned in this blog: 


First time working with special fx👽👽

So as I’m on my first year of my course, we don’t learn anything about special fx till next year. (We only cover the basics but go into full depth later on) 🤘🏽🤘🏽

Today we were set a task to recreate the look of the Wizard of Oz characters and create a horror theme. Given the character Tin Man, I wanted to create a design which showed human flesh being torn away to reveal a tin face. 🔩🔧

To do this, I removed all the makeup off my very kind and offering model, and began applying latex with a sponge. It is important to remove all makeup off the skin so you have a clean base to start with. After applying a layer of latex, I waited a couple of second for it to dry, before scratching away areas to create holes. This sounds painful, but the latex creates a layer so you don’t feel anything when removing some of the product. I kept doing this process until I was satisfied with the build. Then I set the makeup with setting powder.  I wanted it to appear as if the face has been clawed/ripped off. 🙈

Originally I had designed the skin to look burnt, but when thinking about the process, the skin wouldn’t be able to melt effectively if there was metal underneath, therefore I decided to rethink my idea to something equally as gruesome. 🤔🙄

Next, I applied a layer of the Ben Nye cream foundation in a light shade using a foundation brush and sponge. After, I set again with the setting powder. I then began to take a stippling sponge and dab red and deep purple grease paint over the latex. This added a bloody effect to the skin. 💉

I decided to open up the holes in the flesh, and fill them with grey grease paint. This would give the appearence that the tin face was underneath this layer. I finished off my look by touching up the whole piece with some fake blood. 

Overall I am very happy with the look considering I had never been taught how to do this look. It is only a practice, so there is room for a lot of improvements. ☺️☺️☺️ 


 Ps… The left side of the face is not complete. I applied a thin layer of grey to see if the two looks contrasted well together. 🌚

About me😝

Hey!

Okay so before I decide to post any more blogs, I thought it was only right to talk a bit about myself! I am your typical makeup loving girl, studying a course called media makeup. I decided to write a blog because I wanted to share all my work with my friends and family, (or just the general public!) 😝 

I am new to this whole blogging thing, so please forgive me if there’s spelling mistakes or I talk about pretty much rubbish😂 

I am look into studying a HND media makeup degree after finishing my current course. I’m not too sure what I want to do when I’m older; I’m torn between being a self employed makeup artist or working with special fx on film and tv!👽👽 The past 6 months of my makeup course has definetely taught me that theatre makeup is not for me! As much as I love the fun of creating huge and exciting looks, I much prefer the pretty and detailed makeup which can be seen up close and personal!💅🏽

So… On this blog you can expect A LOT of makeup, some personal tips I’ve learnt over the past, and maybe a bit about my personal life.. Who knows. But stay tuned as I’ve got a lot of exciting ideas coming up✨✨✨

  
Sophie xx